Cherokee can be installed in a variety of ways. By default, Ubuntu has support for Cherokee in its existing repositories. However, development on Cherokee is happening at breakneck speeds. Since the default Ubuntu repositories are incapable of keeping up with this type of rapid development, that leaves only two real options: compile from source or use an alternative repository. For the sake of this HOWTO we opted for the latter, since using apt is the preferred Ubuntu installation method.
That is why we use ppa.launchpad.net repository to install our cherokee, first go to your /etc/apt/sources.list files
# vim /etc/apt/sources.list
and you need to add this :
deb http://ppa.launchpad.net/cherokee-webserver/ppa/ubuntu karmic main
deb-src http://ppa.launchpad.net/cherokee-webserver/ppa/ubuntu karmic main
Save and exit
Install GPG key using the following command
# apt-key adv –recv-keys –keyserver keyserver.ubuntu.com 0AD0B667B67DAA477F5FF89F51BB8E83EBA7BD49
Executing: gpg –ignore-time-conflict –no-options –no-default-keyring –secret-keyring /etc/apt/secring.gpg –trustdb-name
/etc/apt/trustdb.gpg –keyring /etc/apt/trusted.gpg –recv-keys –keyserver keyserver.ubuntu.com
0AD0B667B67DAA477F5FF89F51BB8E83EBA7BD49
gpg: requesting key EBA7BD49 from hkp server keyserver.ubuntu.com
gpg: key EBA7BD49: public key “Launchpad PPA for Cherokee Web Server” imported
gpg: Total number processed: 1
gpg: imported: 1 (RSA: 1)
Update the source list
# apt-get update
Get:14 http://ppa.launchpad.net karmic/main Sources [575B]
install the cherokee
# apt-get install cherokee
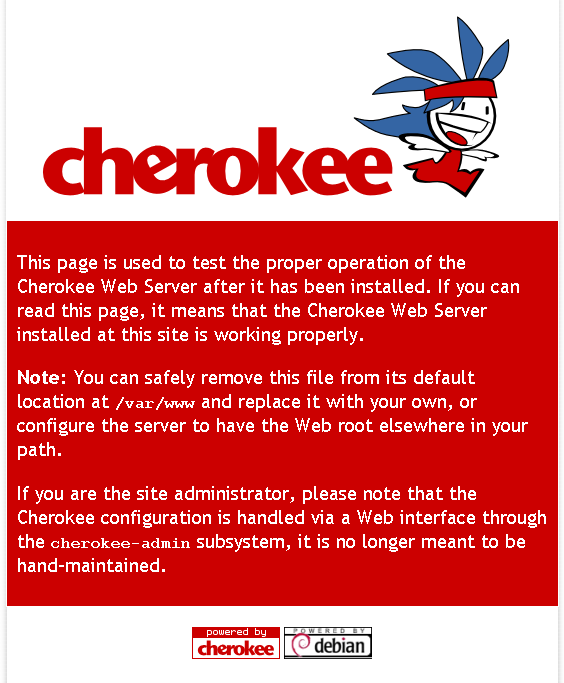
go to your web server ip address to checked it http://localhost
Install PHP support
Use the following commands to install php support
# apt-get install php5-cgi php5-mysql
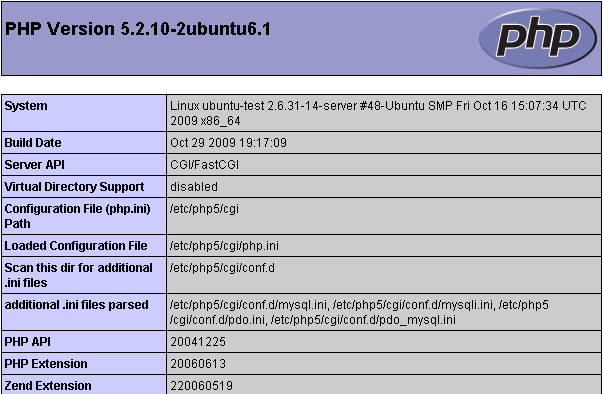
Test your php installation:
go to /var/www and create test.php
# cd /var/www
# vi test.php
<? phpinfo(); ?>
Before you test your test.php file, first you need to add php extention behaviouron the cherokee virtual server. Activate
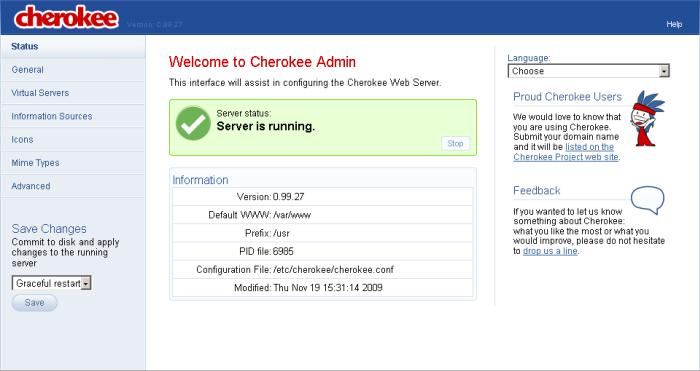
your cherokee admin
# cherokee-admin -b
Login:
User: admin
One-time Password: 123Dbb5678tZ212
Web Interface:
URL: http://localhost:9090/
Cherokee Web Server 0.99.27 (Nov 6 2009): Listening on port ALL:9090, TLS
disabled, IPv6 disabled, using epoll, 4096 fds system limit, max. 2041
connections, caching I/O, single thread
then you got to your web server ip port 9090 ,http://101.18.181.111:9090
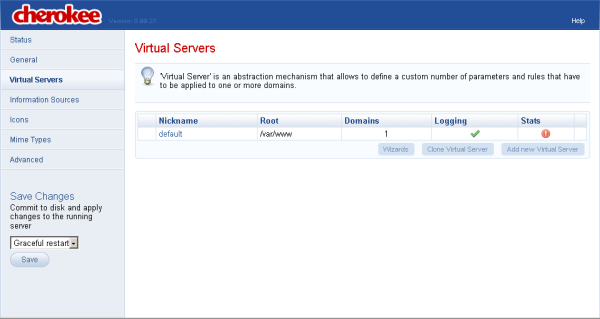
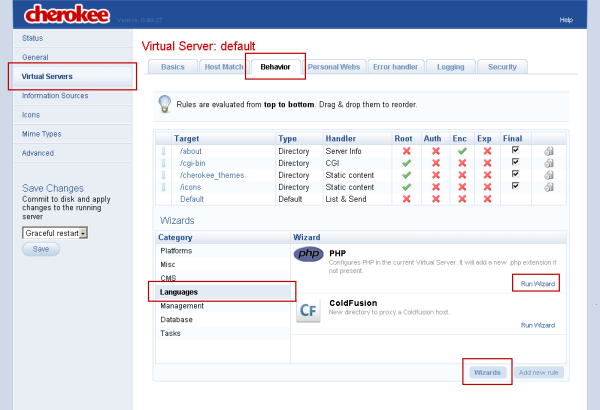
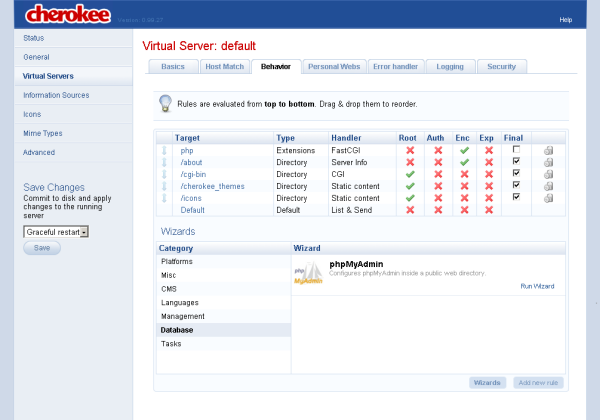
Go to Virtual Servers -> pick your virtual server nickname (at the first time it’s usually default) -> Behavior -> Wizards -> Languages -> php -> Run Wizards
Then don’t forget to save changes by clicking the save button on the left, go to Test you installation/test.php to checked it
Install Mysql server support
Use the following commands to install mysql server support
# apt-get install mysql-server mysql-client
MySQL is now installed and should operate fairly smooth and without issue. However, if the goal is to strictly use WordPress
then the MySQL daemon should be tweaked a bit in order to save on memory consumption.
# sudo vi /etc/mysql/my.cnf
Ensure the following entries have similar options set in the MySQL configuration file:
key_buffer = 16M
max_allowed_packet = 16M
thread_stack = 192K
thread_cache_size = 8
skip-innodb
The last entry is an important one and will lower MySQL memory consumption considerably.
Now you can checked yoru mysql status
# /etc/init.d/mysql status
* /usr/bin/mysqladmin Ver 8.42 Distrib 5.1.37, for debian-linux-gnu on x86_64
Copyright 2000-2008 MySQL AB, 2008 Sun Microsystems, Inc.
This software comes with ABSOLUTELY NO WARRANTY. This is free software,
and you are welcome to modify and redistribute it under the GPL license
Server version 5.1.37-1ubuntu5
Protocol version 10
Connection Localhost via UNIX socket
UNIX socket /var/run/mysqld/mysqld.sock
Uptime: 51 min 38 sec
Threads: 1 Questions: 102 Slow queries: 0 Opens: 99 Flush tables: 1 Open tables: 23 Queries per second avg: 0.32
installing phpmyadmin on Cherokee
# apt-get install phpmyadmin
when you ge prompt with this question just ignored it and pick ok
Please choose the web server that should be automatically configured to ‚ run phpMyAdmin.
‚ Web server to reconfigure automatically:
[ ] apache2
[ ] lighttpd
<Ok>
Okay after it’s done we need to set the phpmyadmin on the cherokee, and the lates cherokee provide us with the wizard, just
go to your cherokee admin
# cherokee-admin -b
Login:
User: admin
One-time Password: eCKD7WlY27KKhHeZ
Web Interface:
URL: http://localhost:9090/
Cherokee Web Server 0.99.27 (Nov 6 2009): Listening on port ALL:9090, TLS
disabled, IPv6 disabled, using epoll, 4096 fds system limit, max. 2041
connections, caching I/O, single thread
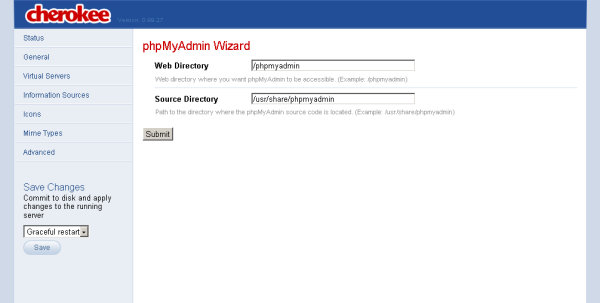
then go to virtual server -> your virtual server nickname -> behaviour -> wizards -> phpmyadmin -> run wizards
your notice that Source Directory was set automaticly to /usr/share/phpmyadmin, if you build your phpmyadmin from source you need to add the Source Directory manually you can use whereis command to located your phpmyadmin config files
# whereis phpmyadmin
phpmyadmin: /etc/phpmyadmin /usr/share/phpmyadmin
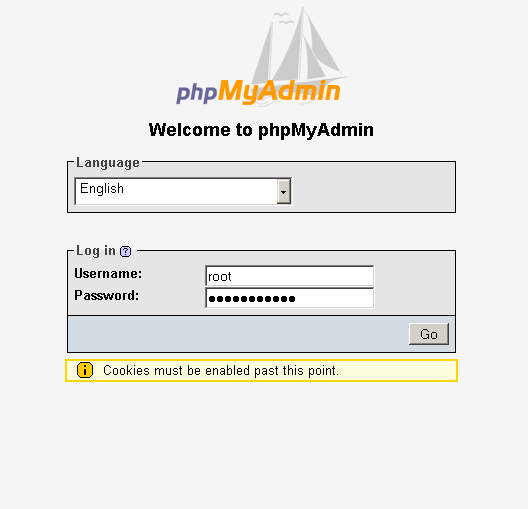
Then don’t forget to save, then go to your phpmyadmin link to test it http://101.18.181.111/phpmyadmin/
Okay we have installed phpmyadmin, now the question is how to add .htaccess on the phpmyadmin directory to make it more
secure ? we can add .htaccess on the cheerokee
first you need to create htpasswd file first, you can add the file anywhere in my case i add it on /var/htpasswd
since ubuntu by default did not include htpasswd we need to isntall it first
# apt-get install apache2-utils
# mkdir /var/htpasswd
i will create user admin
# /usr/bin/htpasswd -c /var/htpasswd/user.passwd admin
New password:
Re-type new password:
Adding password for user admin
you can see it now
# tail /var/htpasswd/user.passwd
admin:5tSClQs1NtlQA
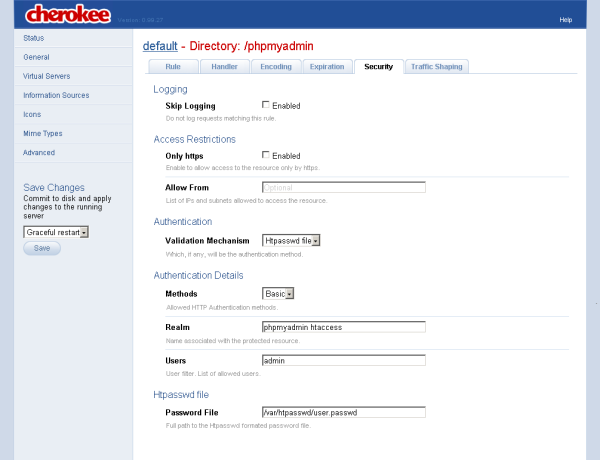
okay get back to cherokee admin -> virtual server -> your virtual server nickname -> behaviour -> click /phpmyadmin-> security -> drop down and pick htpasswd file
Methods -> basic
Realm -> the name of your htaccess
Users -> the username that have previledges to access
Password File -> the path of .htpasswd
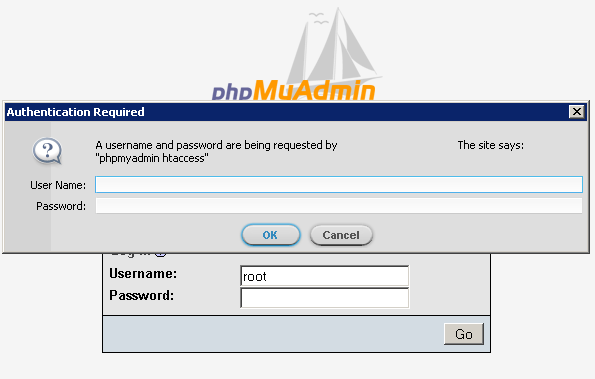
then go to http://101.18.181.111/phpmyadmin to test it

