What is Tunneling ?
Tunneling, also known as “port forwarding,” is the transmission of data intended for use only within a private, usually corporate network through a public network in such a way that the routing nodes in the public network are unaware that the transmission is part of a private network
Okay the main reason why i want to do a mysql tunneling from zimbra is simply because i want to remotely access the mysql db on zimbra mail server, first i try to search how to install phpmyadmin on zimbra but it seems that we need to set virtual domain on /opt/zimbra/httpd-2.2.8/conf/httpd.conf then upload the phpmyadmin on the virtual domain docoment root and set the port . it seems a long way for me :). So i tried to find another way i have heard about mysql tunneling before but how it is implemented i really don’t know so here is the step to create an msyql tunneling on your zimbra sevrer to your local PC
Requirement:
– Zimbra server
– Putty
– HeidiSQL
Setup
You need to have putty first you can download it here
Then start use your putty, click your server session that already saved or type it on the Hostname pick SSH connection

Then load your saved session

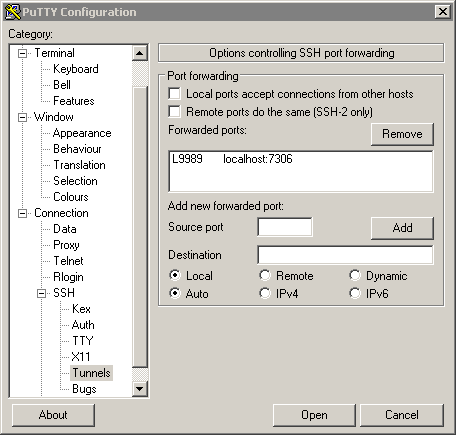
Now we need to set the tunneling you can go to Connection -> SSH -> Tunnels
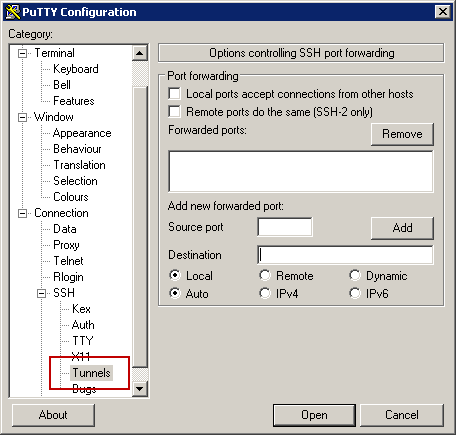
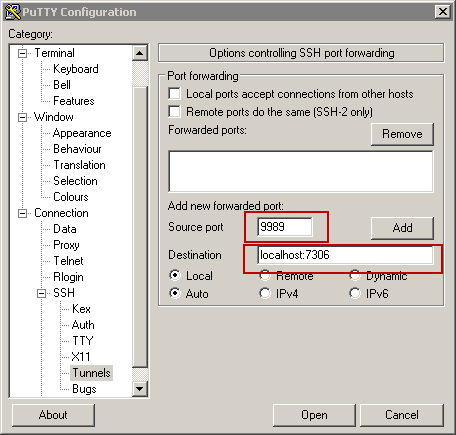
Now we need to insert the Source port and Destination ,
Source port is the local port that we will use to connect our mysql admin agent int his tutorial i use HeidiSQL on this tutorial i will use port 9998
The “Desitination” is the address and port of your actual MySQL Server. But since your SSH connection will be considered “local” to your MySQL Server, you should use either “127.0.0.1” or “localhost” depending on what works best. Zimbra mysql use port 7306, localhost:7306
you can checked it on your zimbra by entering zmlocalconfig -s | grep mysql | grep password
zimbra@mail:/root$ zmlocalconfig -s | grep mysql | grep port
logger_mysql_port = 7307
mysql_port = 7306
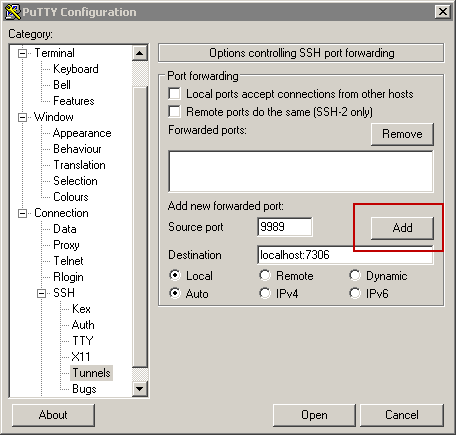
Don’t forget to click Add button
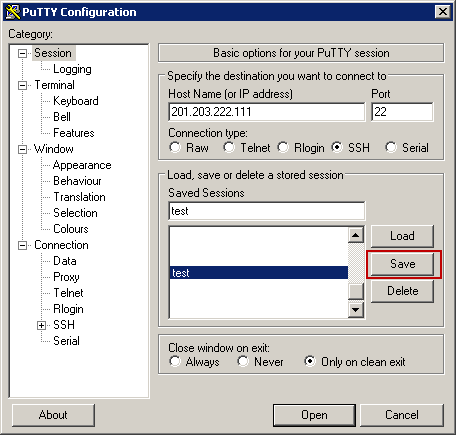
Go back to Session and save because your setting will be lost if you did not save anything
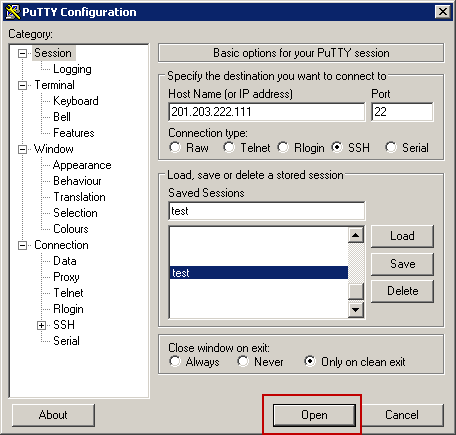
Then you just need to login as usual by clickin Open button, then login usin zimbra username and password
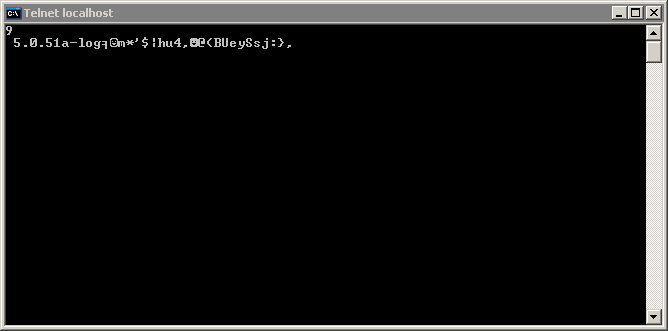
Now you need to test your localhost port 9998 connection on your pc, using telnet localhost 9998 on your command prompt it should show this
Now you just need to configure your HeidiSQL or another mysql client software to connect to localhost port 9998
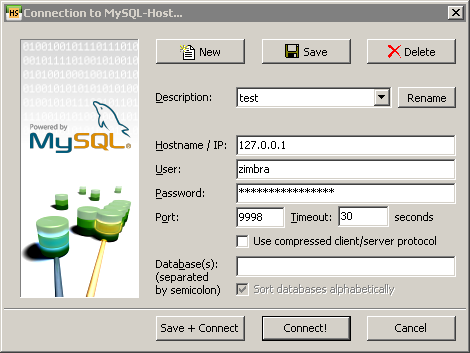 enter your zimbra mysql password, you can search it on your zimbra server by using this command zmlocalconfig -s | grep mysql | grep password
zimbra@mail:/root$ zmlocalconfig -s | grep mysql | grep password
mysql_logger_root_password = ****************
mysql_root_password = ******************
zimbra_logger_mysql_password = **********************
zimbra_mysql_password = **************
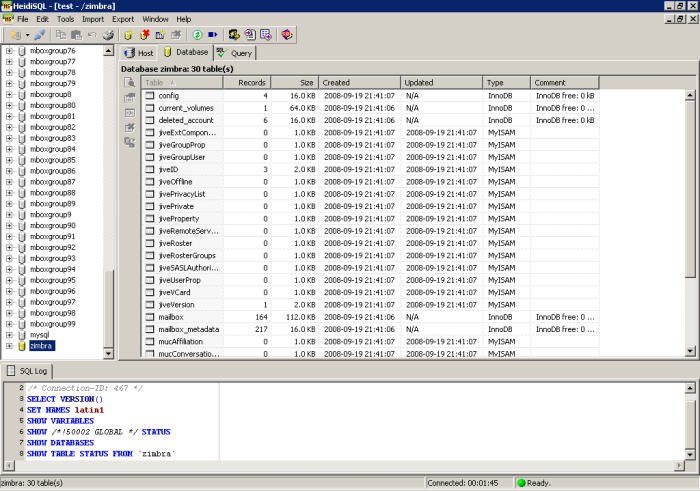
then click connect, it will show your zimbra database
